How to Recover Deleted Videos on Mac
Table of Contents
When you accidentally delete your videos or movies, your first instinct is to search for ways to recover deleted videos on Mac. Fortunately, today’s technology has given us several answers to this problem. Whether you accidentally deleted a video or it has gone missing, trust that there are ways to get your file back.
How to Recover Permanently Deleted Videos on a Mac
Despite having several sophisticated applications, Mac lacks one of the most important tools: a data recovery software tool. Therefore, it’s a good thing there are several third-party software that can do this that are available for download.
One great example is Disk Drill. This software has been on top of our list of the best data recovery software for a while and still deserves the top spot. Here are some of the best features we love about Disk Drill:
- 🛢️ Recover Large Files. Video files are among the largest file types out there and Disk Drill is fully equipped to recover them.
- 📹 Supports Almost All Video File Formats. Whether you’re trying to recover a .raw file or a macOS specific format like .mov, chances are Disk Drill supports that file and will have a better chance of safely recovering it.
- 📁 Preview Files. You can also preview video files to make sure you find the right video before recovering it.
- 🗄️ Filter File Types. Outside of supporting more than 400 file types, you can also easily filter your search to only look for the video file formats you’re trying to recover.
- 📅 Affordable plans. It has a free trial, but you have the option to upgrade to PRO for only $89. If more than 10 users are planning to use Disk Drill, the Enterprise plan is available for $499.
- ⏩ Fast and reliable data recovery process. By default, Disk Drill will do a Quick Scan which will only take a few minutes. But if initially, you don’t find what you’re looking for, Disk Drill also has a more comprehensive scan called a Deep Scan.
- 💎 Outstanding features. Aside from data recovery, Disk Drill also offers S.M.A.R.T monitoring, data protection, byte-to-byte backup, disk cleanup, and data shredder.
- 💻 Easy-to-use interface. When you first open Disk Drill, you will immediately notice how user-friendly everything is laid out, from the features to the buttons. It’s not intimidating for beginners or for those who have no prior experience in recovering deleted files.
Now that we’ve talked about why Disk Drill is one of the best data recovery software, let’s learn how to restore deleted videos using the app. Follow the steps below:
- Download the Disk Drill app from their official website.
- Open your Downloads folder and then double-click the downloaded file diskdrill.dmg.
- Follow the on-screen instructions and once ready, launch the Disk Drill app.
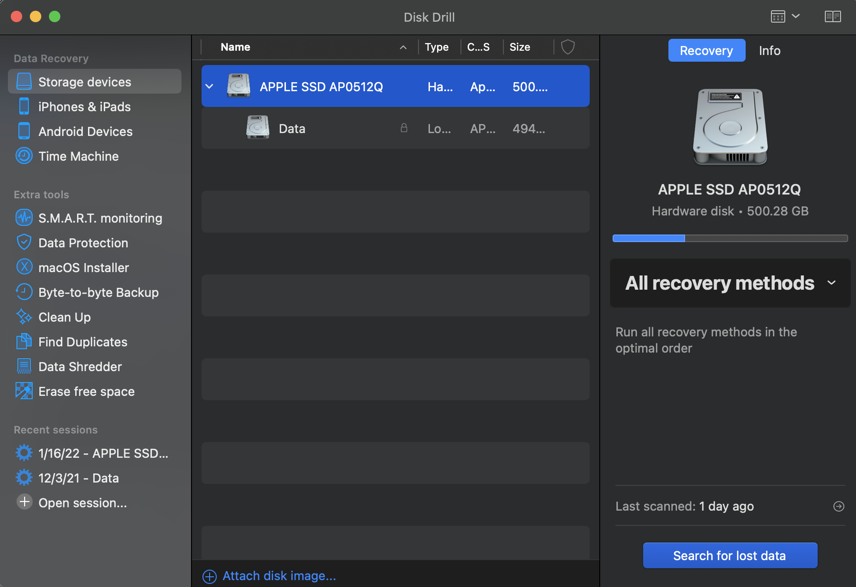
- Select the hard drive you want to scan. Then, scan for lost files by clicking on Search for lost data located on the lower right part of the screen.
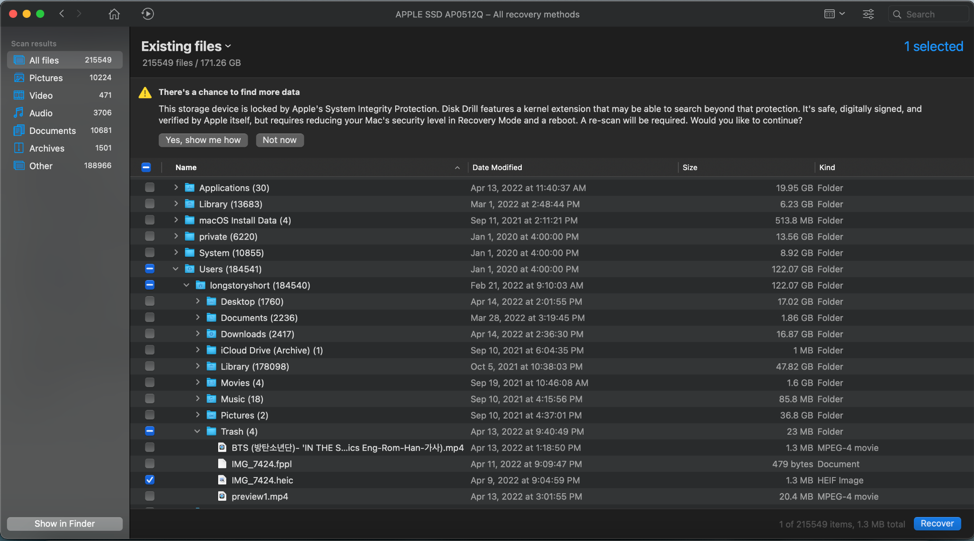
- Wait for the scan to finish. Filter the results by file type so you can easily see the deleted video files. You can also filter the scan results by file type with the use of the search bar, for example by typing “.mov”.
- Select a file to preview before recovering to make sure you are retrieving the correct file.
- Select the files you want to retrieve then click Recover on the right-hand corner of the screen.
- Select a new location to place the retrieved file, then click OK once you’ve selected a folder destination.
Best 5 Alternative Methods to Recover Deleted Videos on a Mac
If you don’t want to download and install a third-party data recovery software, there are actually built-in Mac applications that can help you retrieve deleted videos.
Disclaimer: These methods work completely differently from data recovery software. Some of these will help you find files on your Mac that may have only been lost, not deleted. Others will require a backup created beforehand of your files so you can restore them again at a later period if needed.
Method 1. Search for Deleted Videos on Your Mac
Just because you can’t find your video files where you originally placed them doesn’t always mean they’re deleted. Perhaps they were misplaced. Before we look through the Trash, let’s try to find these missing video files using Spotlight and Finder.
Find Files with Spotlight
Spotlight is the Mac’s most powerful tool when it comes to file searching.
- Press Command + Space to open up the Spotlight search. You can also click the 🔍 Spotlight icon on your Menu bar if it’s available.
- Type in the file names that you’re looking for.
If you can’t find the files via Spotlight, proceed to the next method about using Finder.
Find FIles with Finder
For those of you who don’t remember the video file names, you can try and look for your video files with Finder.
- Open up Finder on your Mac and use the search field at the top-right corner of your window.
- Type in the format or file type of the videos you’re looking for (example: .mov).
If you’re getting too many results or the search is taking too long, decrease the size of your search query by searching through individual folders.
Checking the Trash
When you delete a video, accidentally or not, it does not get immediately removed from your Macbook’s hardware. In fact, the first place you should go to is the Trash since that is where it will be dumped.
To retrieve deleted videos through Trash, simply click on the Trash icon on your dock, look for the deleted video, and click Put Back.

If it’s still somewhere in your computer’s system, you can also use the Spotlight search bar to look for the deleted file.
To open the Spotlight search bar, click the magnifier icon on your Mac’s toolbar and type the file name of the video file that was deleted.

Method 2. Recover Deleted Videos from Photos App on Mac
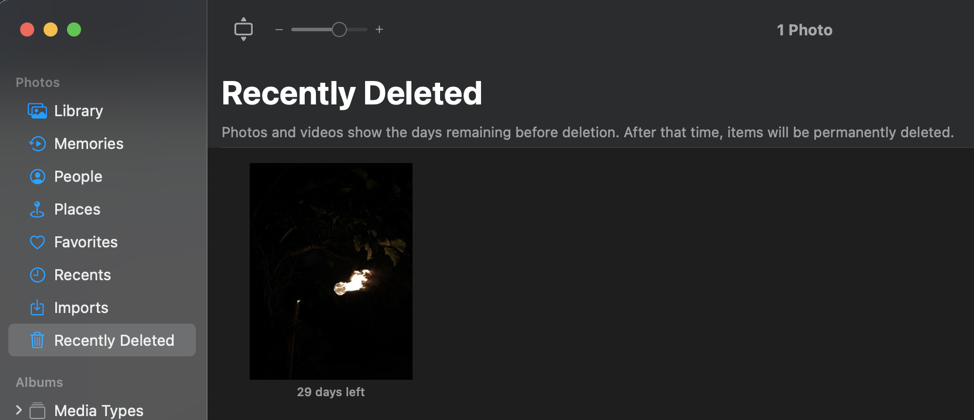
If you were using the Photos app on your Mac when the video was accidentally deleted, you could easily recover it using the Recently Deleted feature. All deleted files from the Photos app will be shown here, as long as it has not been more than 30 days since the file was deleted.
To retrieve the deleted video from the Photos App, click on Recently Deleted from the left sidebar. Then, right-click the file you want to retrieve, and select Recover.
Method 3. Recover Lost Videos from iCloud
Another way to get back your deleted video is through Apple’s iCloud. If you are using iCloud as a backup drive and if you previously linked your iCloud backup to your Mac, then chances are you can find your Mac video library here. Here’s how to retrieve a deleted video using iCloud:
- Go to iCloud.com and log in to your iCloud or Apple ID account.
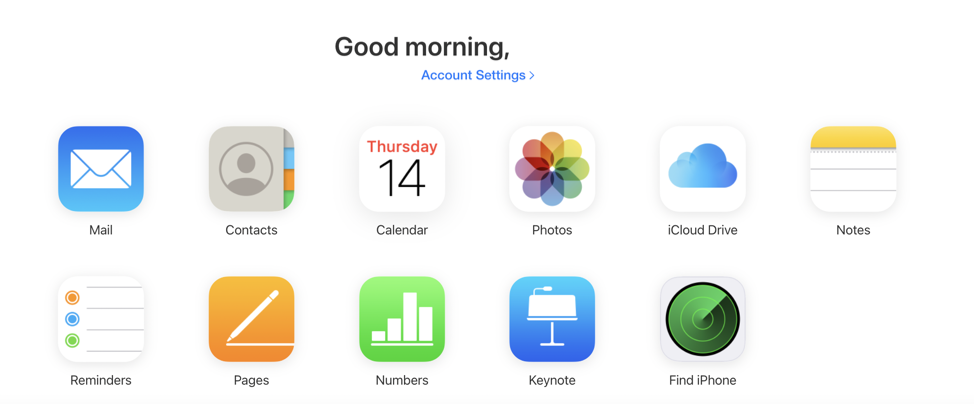
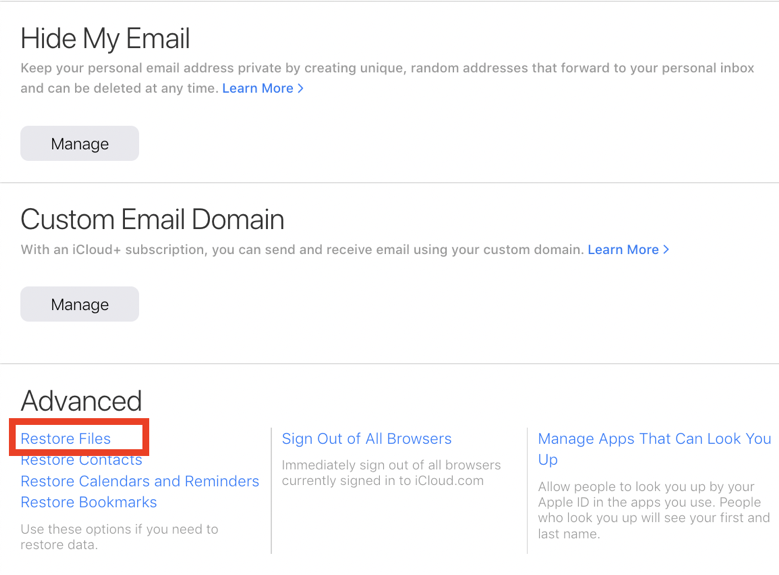
- Click on Account Settings, then scroll down and go to the Advanced section.
- Select Restore Files. iCloud will now search for restorable files.
- Check the boxes of all the files you wish to recover, or simply choose Select All.
- Click Restore Files. This will recover your lost files from iCloud.
Method 4. Restore Deleted Videos on Mac with Time Machine
Doing regular backups of your files can be a life saver in times of crisis. With the Time Machine on macOS, you have the option to create automatic backups on an hourly, daily, weekly, or monthly basis. Even unsaved work, videos, or temporary files will be backed up as long as it’s not been overwritten by new data.
These backed-up files can be stored on either a separate external hard drive or your Mac’s hard drive. Just note that when the drive no longer has any storage space left, Time Machine will automatically delete your oldest backups in order to make space for newer ones.
So, if the lost videos were backed up on your Time Machine, you can restore them by following the steps below:
- Click the Time Machine icon from your Mac’s Menu bar or launch it using the Spotlight search bar.

- You can open Time Machine and recover your backed-up files through two steps.
- Locate your file from the backed-up files displayed on the screen. If you are unsure of the file name, you can also preview the files before restoring them.
- Open Time Machine from the folder your file was stored at before it was deleted. This automatically opens Time Machine and its back ups for that folder, there you can choose and find the back ups to restore.
- Click Restore once you’ve found the right file, and you’re done!
Method 5. Try to Visit a Data Recovery Service Near to You
If all else fails, your final option is to contact a professional to help resolve this issue for you.
This service will probably cost you a few bucks, and you will need to leave your laptop, SD Card, memory card, or other external storage that you want to scan and retrieve videos from. But since the issue is now being handled by a pro, you can rest assured that you will be getting your money’s worth.
Final Words
Technology has made it easier to retrieve deleted movies from Mac. Whether you lost or failed to save a video file, trust that there are ready solutions to your problem.
One easy solution that we highly recommend is the use of a reliable third-party data recovery software called Disk Drill. Aside from its high recovery rate, Disk Drill boasts different features that can help protect your disk. But in cases where no data recovery tool can retrieve your file, it is best to consult a professional.
FAQs
Yes, Apple can recover a deleted video on Mac. There are several ways to do this:
- Search for the deleted video on Trash
- Search for the deleted video using the Spotlight search bar
- Recover your deleted video using iCloud and the Photos app
If you have backups of your files, you can try recovering permanently deleted videos using Mac’s Time Machine. Just launch the Time Machine app on your Mac, locate your file from the list on the screen, and click Restore once you’ve found it.
On the other hand, if you don’t have a backup then you’ll have to use a data recovery software tool like Disk Drill. Disk Drill is perfect for video recovery because it can recover large files, supports almost all video types formats, and allows you to preview videos before recovering them for good.
The best app for recovering deleted videos on Mac is Disk Drill. Aside from data recovery, it has different features that help protect your drive. It’s also effortless to use. Just download the app and install it on your Mac, scan for lost data, look for the deleted video, and restore it.
If for some reason Disk Drill doesn’t work for you, you can try other products here.
If you want to retrieve deleted videos on MacBook Pro, you can try to recover them via Trash, iCloud, or the Photos app. You can also use reliable third-party software like Disk Drill to help you retrieve deleted videos.