There are currently dozens of excellent cloud services out there offering some of the best offers, but how can you manage all of this cloud space in the most convenient way?
Whether you are looking to save space on your device or simply just to access your files easier, there is only one solution, and that is to mount cloud storage as local drive. Through this method, you will be able to enjoy all of your cloud-stored files directly from your computer.
Table of Contents
What is a Cloud Storage client?
The cloud storage client is your software ally when it comes to managing all of your cloud-stored information on services such as Google Drive, Dropbox, Mega, Box, and many more.
This means, that with a powerful client, you can mount cloud storage as local drive mac and access them even more faster than using a third party app or accessing a website. All of the apps should support the popular cloud services and enable users to download, store, edit and delete files as they please.
Why Mount Clouds as disks?
There are many reasons on why users would want to mount cloud storage as a disk drive within Mac or Windows. The most important one would be to save space. When you are using FTP Clients for Mac, you are able to edit files directly from the mounted drive instead of copying them over on your hard drive.
Another important aspect on why you would want to choose this option is Cloud security. Almost all mounters on this list include a way to encrypt your files before they are sent to the servers. This will ensure that you’re the only person able to access them.
Cloud Mounter Solutions for Mac
1. CloudMounter
CloudMounter is an exceptional cloud manager device that allows users to take control of their cloud services and access them in a new way that was not possible before. This app offers users the ability to mount Google Cloud storage as local drive and many other services.
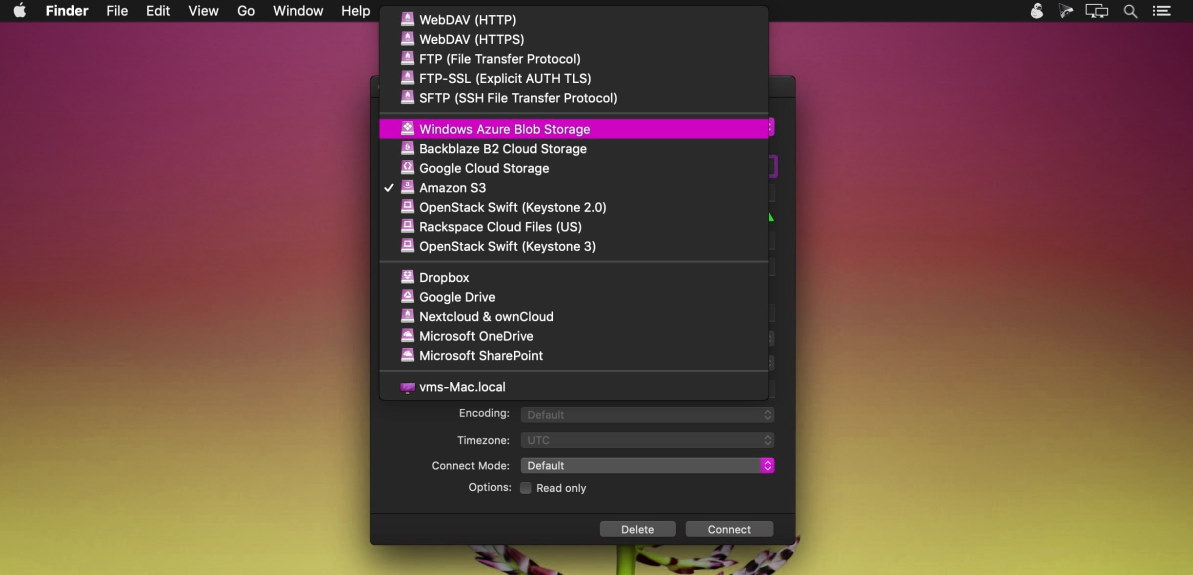
CloudMounter also supports FTP, SFTP, OneDrive, Mega, Box, Backblaze B2, Amazon S3, OpenStack Swift and many more cloud storage companies. It’s available on both Windows and Mac, even on the M1-powered ones.
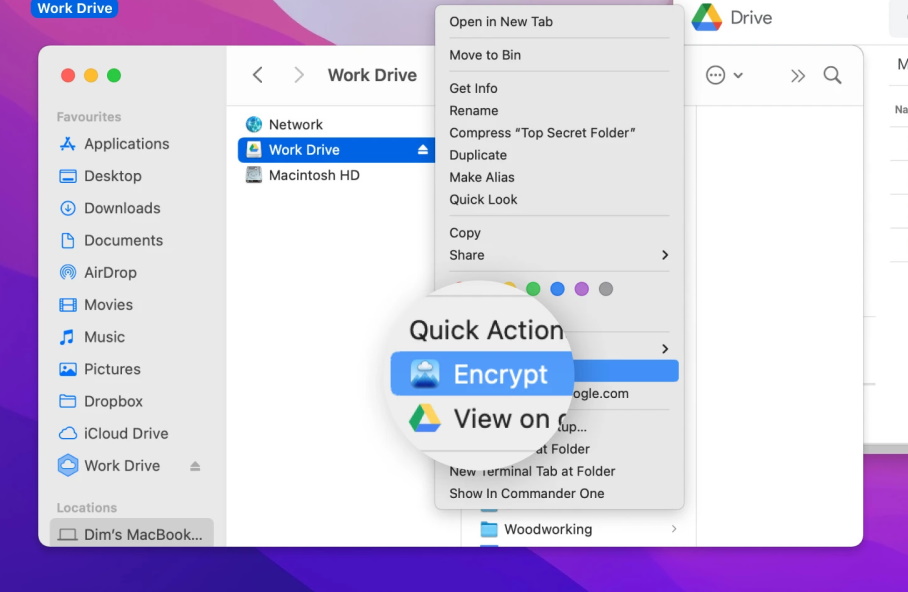
How to mount Cloud Storage as local drive using CloudMounter
The process of using the popular mac mounter app are simpler than you think. Follow the steps bellow to do it successfully:
Step 1: The first thing that you will need to do is to download the CloudMounter application on your computer.
Step 2: Afterward, install the application and run it.
Step 3: The connection window will open and you will have to choose one of the many cloud services that CloudMounter supports.
Step 4: Enter your credentials or server information if you are using FTP.
Step 5: Click on the ‘Mount’ buton.
Step 6: That’s it! Now you should be able to see the mounted partition and enjoy all of your cloud content on your computer, using Finder.
2. ExpanDrive
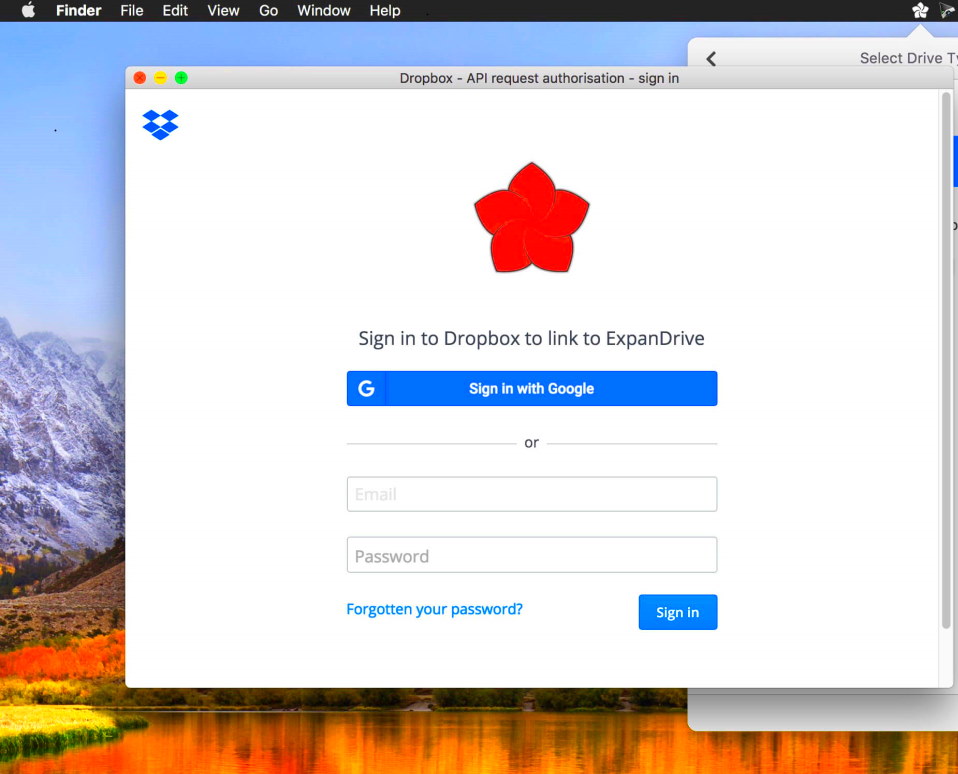
IThis cloud file management application aims to make life a lot easier by allowing users to mount their favorite cloud platforms as drives, within Mac, Windows or Linux.
ExpanDrive supports some of the latest cloud platforms such as Amazon S3, Google Drive, Mega, Dropbox, Box, WebDAV, FTP/SFTP, Wasabi and Sharepoint. It comes with an yearly based subscription plan but users can choose to own it forever as well.
3. Mountain Duck
Available on both Mac and Windows, Mountain Duck is an all-in-one mountain devices that comes with many additional features. With an easy to use interface and smart background uploads, it’s a breeze to operate.
It also supports some of the latest and most popular platforms such as Amazon S3, Dropbox, Google Drive and Mega. If safety is important to you, then you will be thrilled to know that Mountain Duck also have client side encryption to protect your privacy and files.
4. WebDrive
WebDrive is a simple cloud mounting software that is available on both Windows and Mac and comes with a free trial period in which you can test the product. It’s compatible with FTP/SFTP, WebDAV, Box, Amazon S3, Dropbox, Sharepoint, OneDrive and many more cloud solutions.
Through the ability to mount cloud services as drives, you will be able to edit all of your files directly from the cloud thus saving precious space on your actual device.

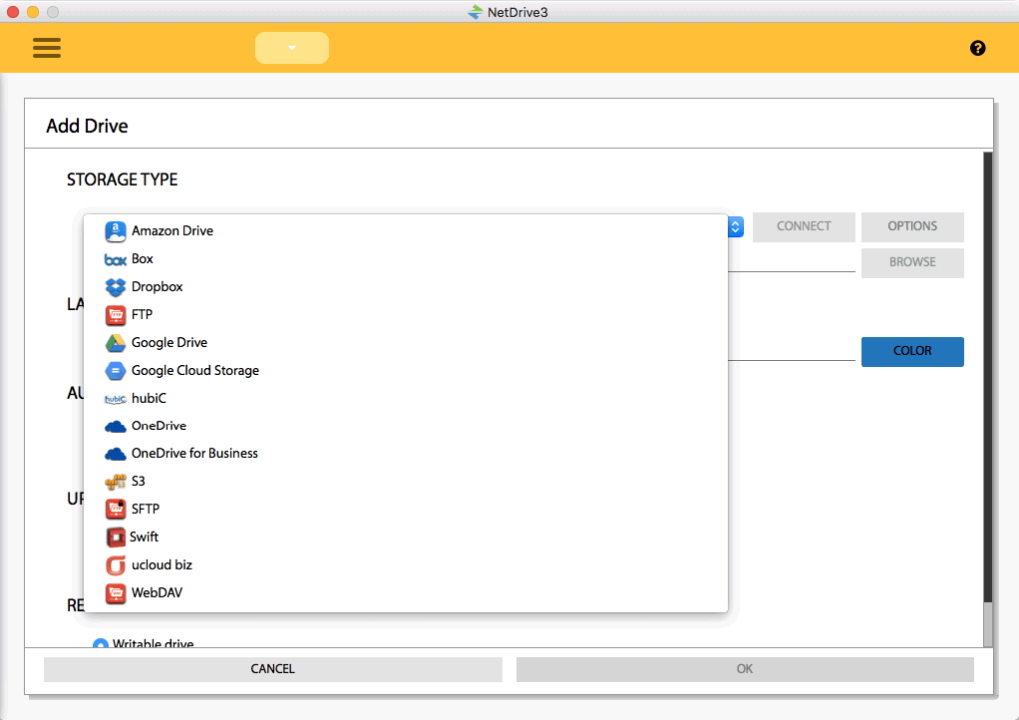
5. NetDrive
Using remote storage as your local drive has never been easier than when using NetDrive. This powerful app comes with a lot of improvements for when working with teams and managing files together.
The app also supports a multitude of popular cloud services and comes with a 7 day trial where you can decide if it suits your needs. NetDrive is available on both Windows and Mac and is very easy to install.
Conclusion
All in all, there are many alternatives of cloud mounters that you can choose but the best pick overall remains CloudMounter – the all in one solution for cloud management and mounting drives. Not only it will save you space but also time, all while keeping your files safe from unwanted people.
FAQ
To Mount Google Drive as a drive you will have to log in with your Google credentials and allow the cloud mounter app access to your drive. After this, press on the ‘Mount’ button and you should be able to access the drive now.
After opening up the App, you should be prompted with the cloud selection screen. Here, you should choose the cloud service that you would like mounted. After logging in or providing the credential information, you should be able to mount with a single press of a button. Now all of your files should appear in file explorer.
First, select Amazon S3 on the cloud selection screen and log in. Afterward, you should press on the ‘Mount’ button and the cloud drive should be mounted. Now, you can use the app as an Amazon S3 browser for macOS.
Depending on the cloud mounting tool that you are using, you should be able to mount iDrive as a network drive.
Tools like CloudMounter can be used to mount your cloud storage as a local drive and access all your online files without leaving Finder.
Mapping cloud storage with CloudMounter is simple and does not take much time. You just need to choose the cloud service in the connection dialog window, enter your account credentials and click “Mount”. After that, your cloud storage will be displayed in the Finder.


