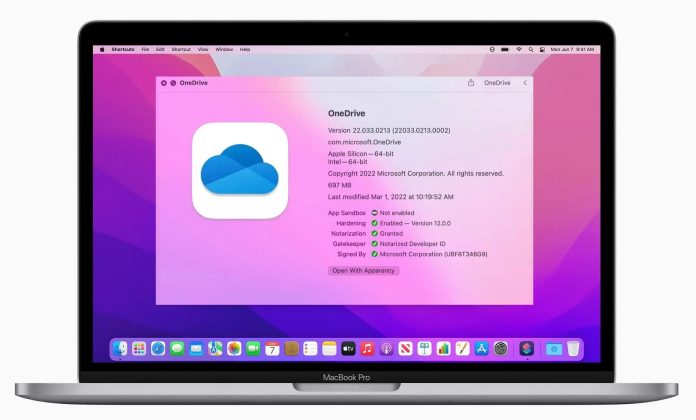
You’ve probably heard of OneDrive. It’s Microsofts’ cloud storage system and is one of the most widely used clouds around. However, as a Microsoft product, it’s been primarily designed for compatibility with Windows. That means that some Mac users may encounter difficulties when using OneDrive for Mac. We recommend checking out a third-party program to ensure you get the best experience and the highest levels of cloud security.
Table of Contents
How to Install OneDrive on Mac
OneDrive offers users a huge range of different functions. It’s often used by businesses as a way of sharing documents and collaborating on them. In terms of personal use, OneDrive is generally used as an online storage system. You can save important data, or simply use it to back up any music or films you might have.
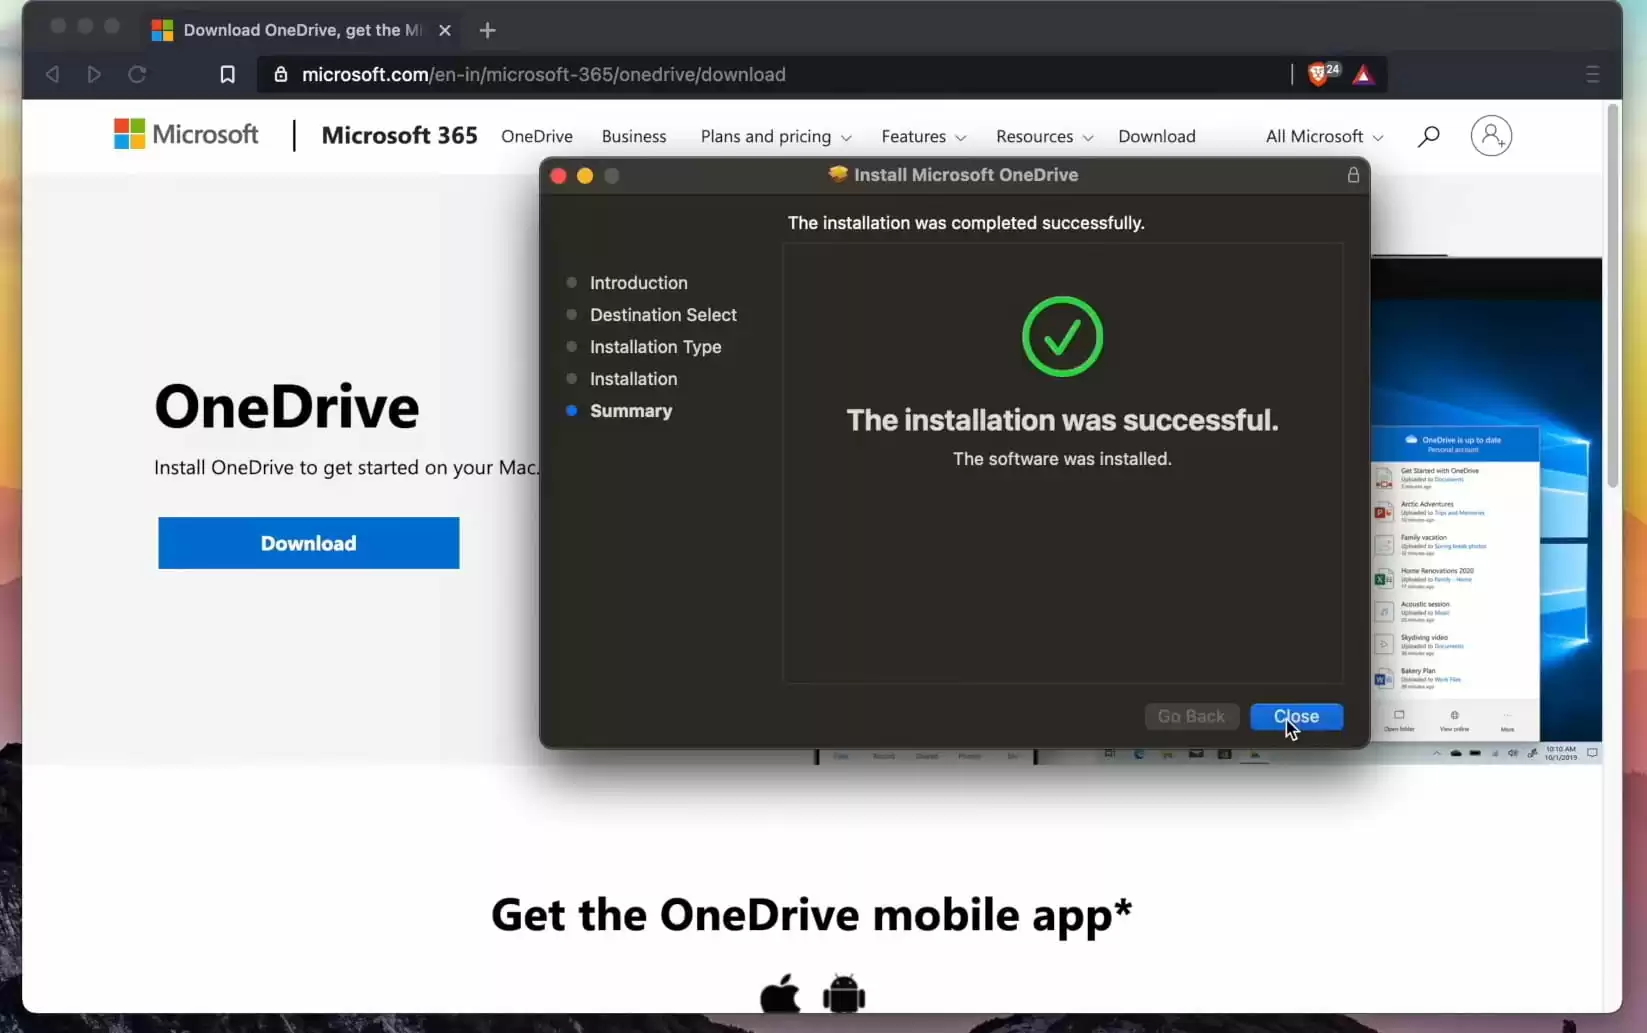
While a third-party program may be the best way to make use of Microsoft OneDrive for Mac, you can still install it in a pretty straightforward manner from the App Store.
Step 1: All you need to do is open the App Store on your Mac.
Step 2: Use the search function to search for the OneDrive app for Mac.
Step 3: Once you’ve found it, click on it and install it.
Step 4: After installation, click Open in the App Store window.
Step 5: Create an account or sign in to an existing one.
Step 6: Specify the location where your OneDrive files will be located and click Next. Allow OneDrive access to your folders.
Step 7: Click Next as you go through the OneDrive prompts. You will then be asked to install the app on your phone. You can choose not to do this and click Later.
Step 8: Done! OneDrive is now installed on your Mac.
Customizing OneDrive Settings
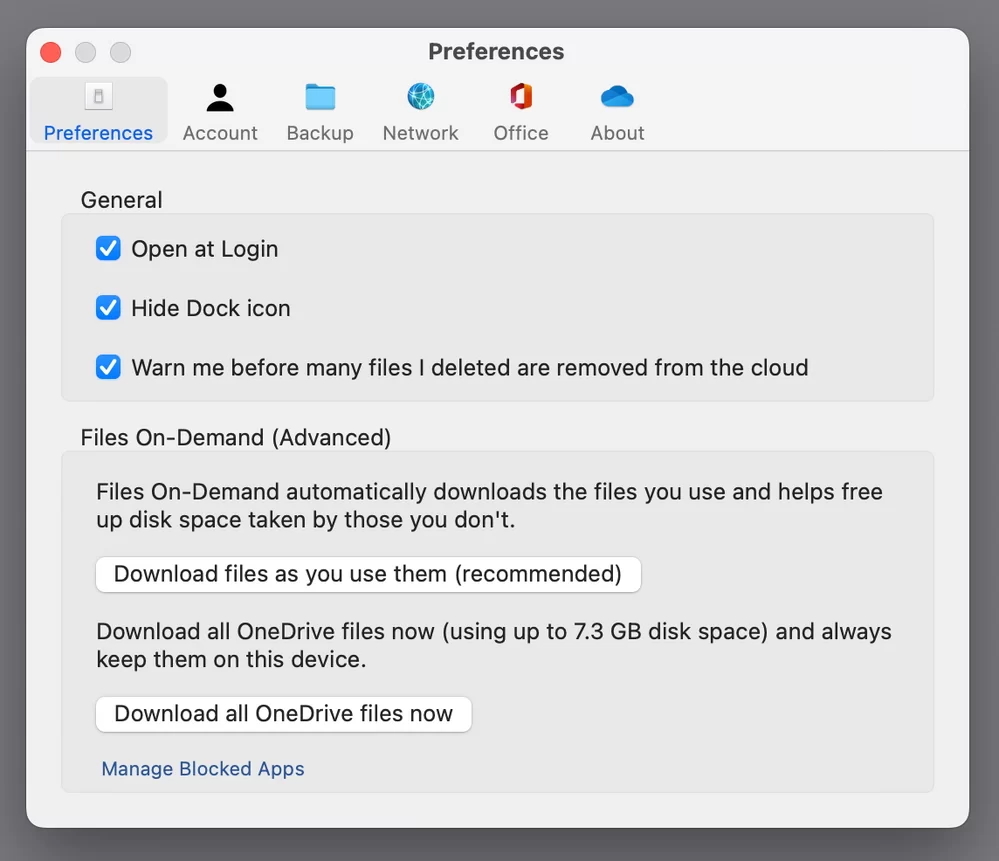
Then you can customize the settings for OneDrive on Mac to suit your needs. Click the settings icon in the top-right corner of the screen, and then select Preferences:
- General Preferences. In this window, you can choose general preferences, such as automatic app launch and notifications.
- Account preferences. This section contains information about your account and the amount of space in the cloud. Here you can choose where files are stored on your Mac.
- Backup preferences. In this window, you can opt to back up and save files and folders on your Mac.
Synchronizing Your Mac with OneDrive
One of the most useful features of OneDrive is the fact that you can synchronize files. This means that, depending on your account settings and what you want to use OneDrive for, you can ensure that different users and devices are able to upload files to OneDrive that will be available to other users and devices. The process is straightforward.
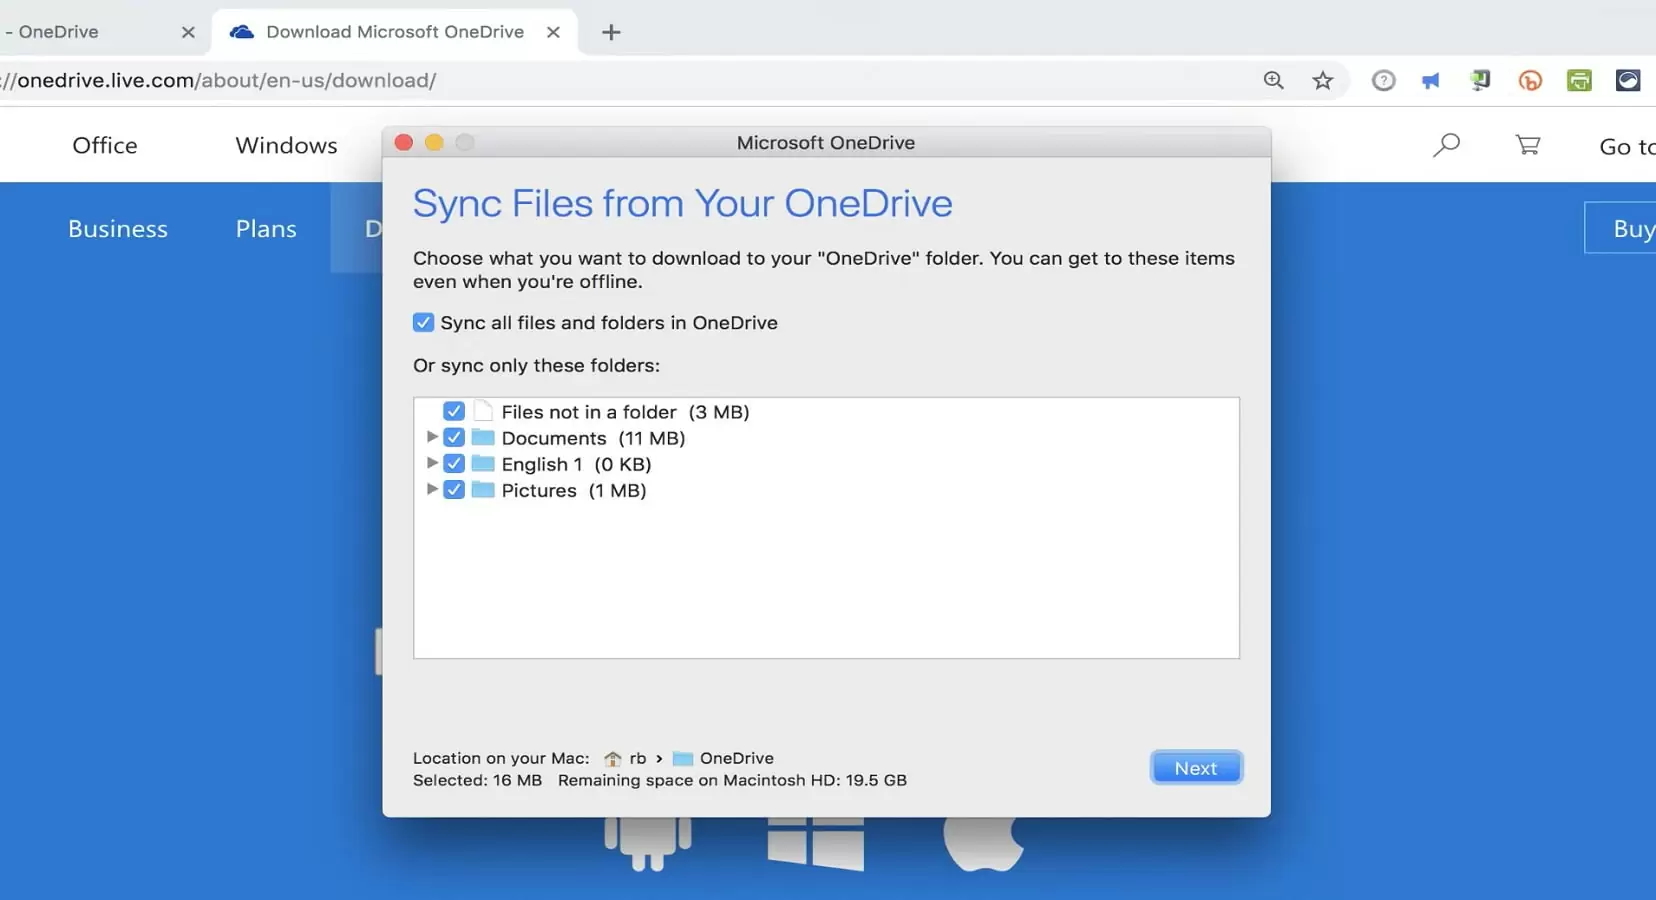
Step 1: First of all, obviously, you need to download the OneDrive for Mac app.
Step 2: Then, open it.
Step 3: Log in with your OneDrive account (you can set this as your default account for the device).
If you use the same account on other devices, any files or changes made will automatically be implemented across all devices and users. You can also use the “share” function with OneDrive. This means that you can share a file or folder with other OneDrive users, either giving them authorization to edit or just to view. All users with access to the files will be synched to the originals, meaning that any changes they or you make will be visible across all devices and users.
Using OneDrive with macOS
As we’ve already mentioned, while OneDrive is native to Windows, it’s also available on macOS. All you need to do is download the OneDrive for Mac app from the App Store. Once you’ve completed the OneDrive download for Mac, you can either log in to an already existing account, or you can create a new account.
Personal accounts are good if you’re only planning on using your account for storing personal documents and sharing with family and friends. OneDrive Mac also has a lot to offer in terms of business solutions. However, if this is what you’re looking for, you’ll need to pay for one of their full business packages.
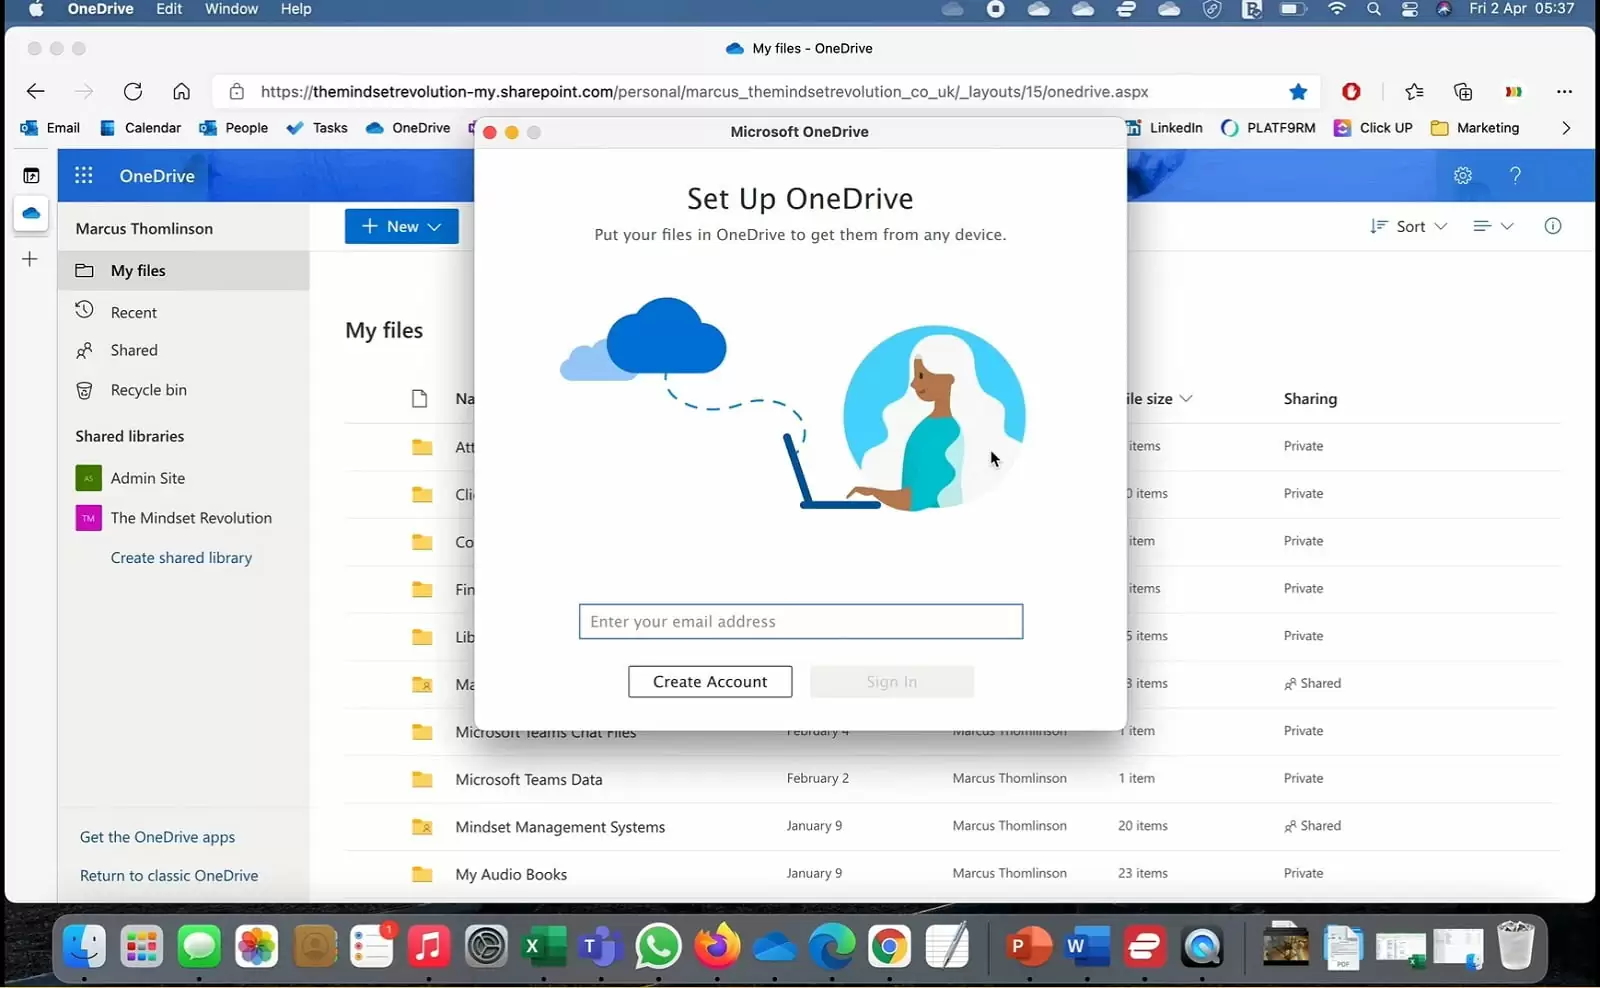
Creating your first OneDrive account:
If you don’t already have a OneDrive account, you’ll need to set up a new one. The process is straightforward and only takes a few minutes. From the OneDrive login screen on your app, you’ll have the option to log in with a preexisting account. The option to create a new account will also be available.
Step 1: Follow the link, and you’ll be able to put in your preferred email address, as well as other contact details such as a phone number.
Step 2: Once you’ve put in the necessary details, you’ll be able to confirm your new account.
Step 3: Now, all you need to do is log in with your new account details.
Log in with an existing account:
Step 1: If you’ve already got an account, logging in is simple.
Step 2: All you need to do is put in the email address the account is registered to, and the correct password.
Step 3: If you’ve got an Xbox account, Skype account, or Hotmail account, you’ll be able to log in with these details.
Uploading Files from Mac to OneDrive
Once you’ve got your account up and running, you can start uploading files. These files will be available from whatever account you use to log in to your OneDrive account. By uploading files to OneDrive, you can ensure that they are safely stored in the cloud, a particularly useful tool for backing up important folders. It’s also an effective way of sharing files.
As we’ve already mentioned, uploaded files can be shared with other OneDrive users. This means that they can view them, download them, and make any necessary edits if you give them the required access.
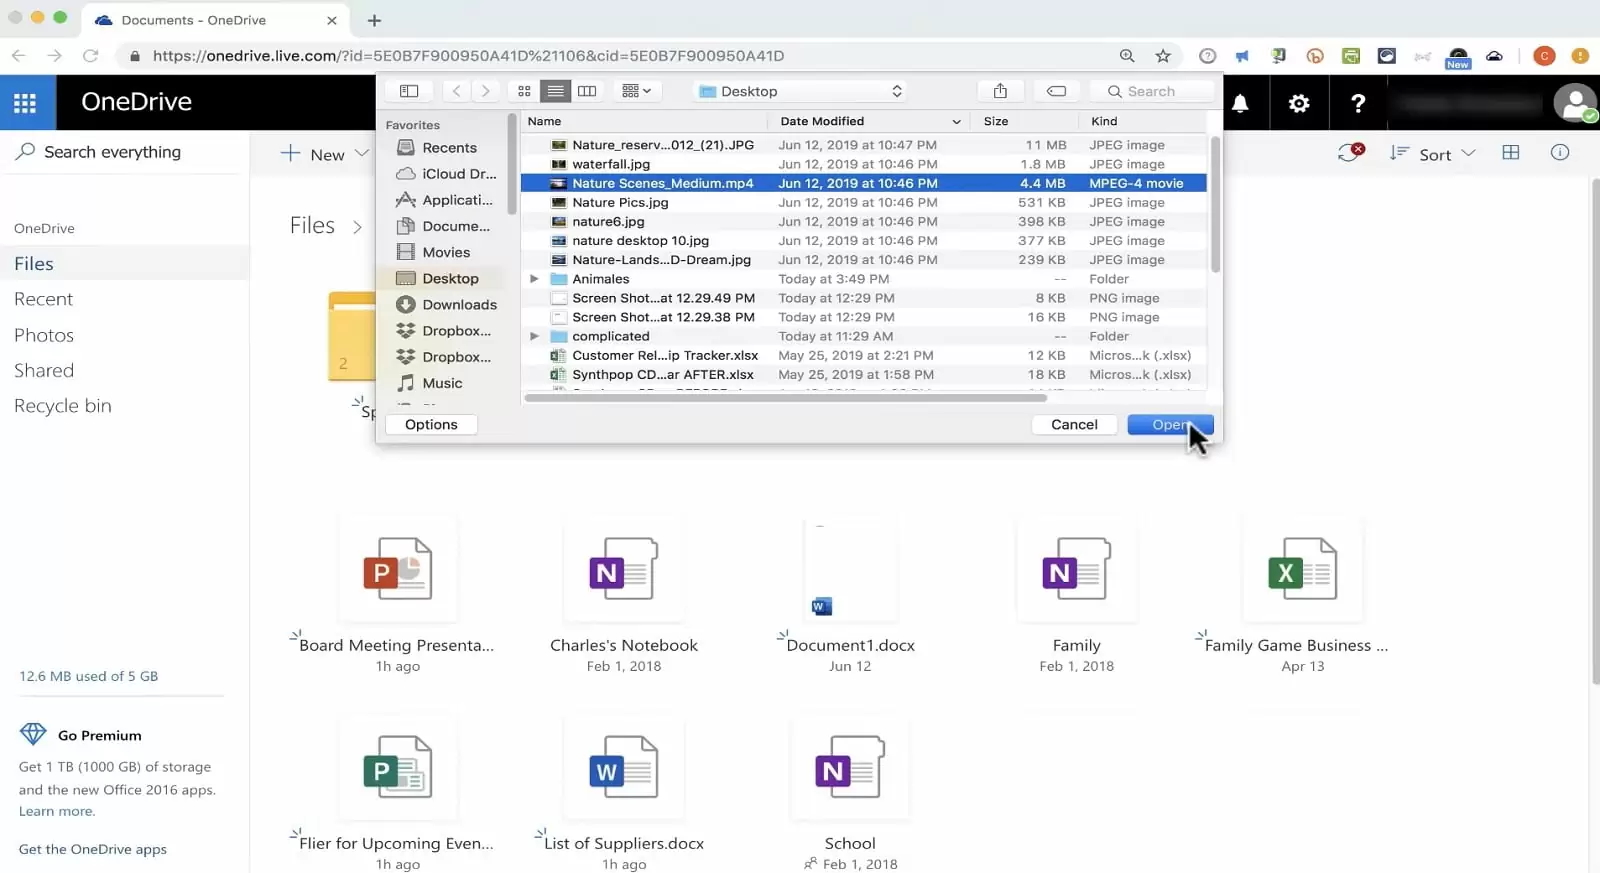
Uploading is straightforward and can be done in a few different ways. The most straightforward way is by simply dragging and dropping. All you need to do is:
Step 1: Make sure that you have the correct folder open.
Step 2: Then, using Finder, navigate to the file you want to upload.
Step 3: Simply drag and drop it onto the destination folder to move it there.
Another option is to create a shortcut to OneDrive in your Finder menu. This way, you can move your files there without even having to open anything up.
Step 1: You can simply right-click on a file.
Step 2: Choose “upload”.
Step 3: Then select the destination.
The app is also an effective way of transferring files to OneDrive folder and can be set to do it automatically. The OneDrive for Mac desktop app can handle files of an impressive 250GB maximum. However, files this big will take quite a long time to upload.
The Ideal OneDrive Desktop Mac App – CloudMounter
If you want to get the most out of OneDrive, we recommend using a OneDrive sync app for Mac such as CloudMounter. CloudMounter has been designed specifically for Mac users and provides you with a range of tools to make accessing and modifying cloud storage as easy as possible.
CloudMounter is 100% compatible with OneDrive, as well as a range of other top cloud storage systems. Once installed, CloudMounter lets you access all your cloud storage exactly as if it were a local drive. This means that all uploads and transfers are far quicker and more convenient than if you’re simply using a desktop app or browser.
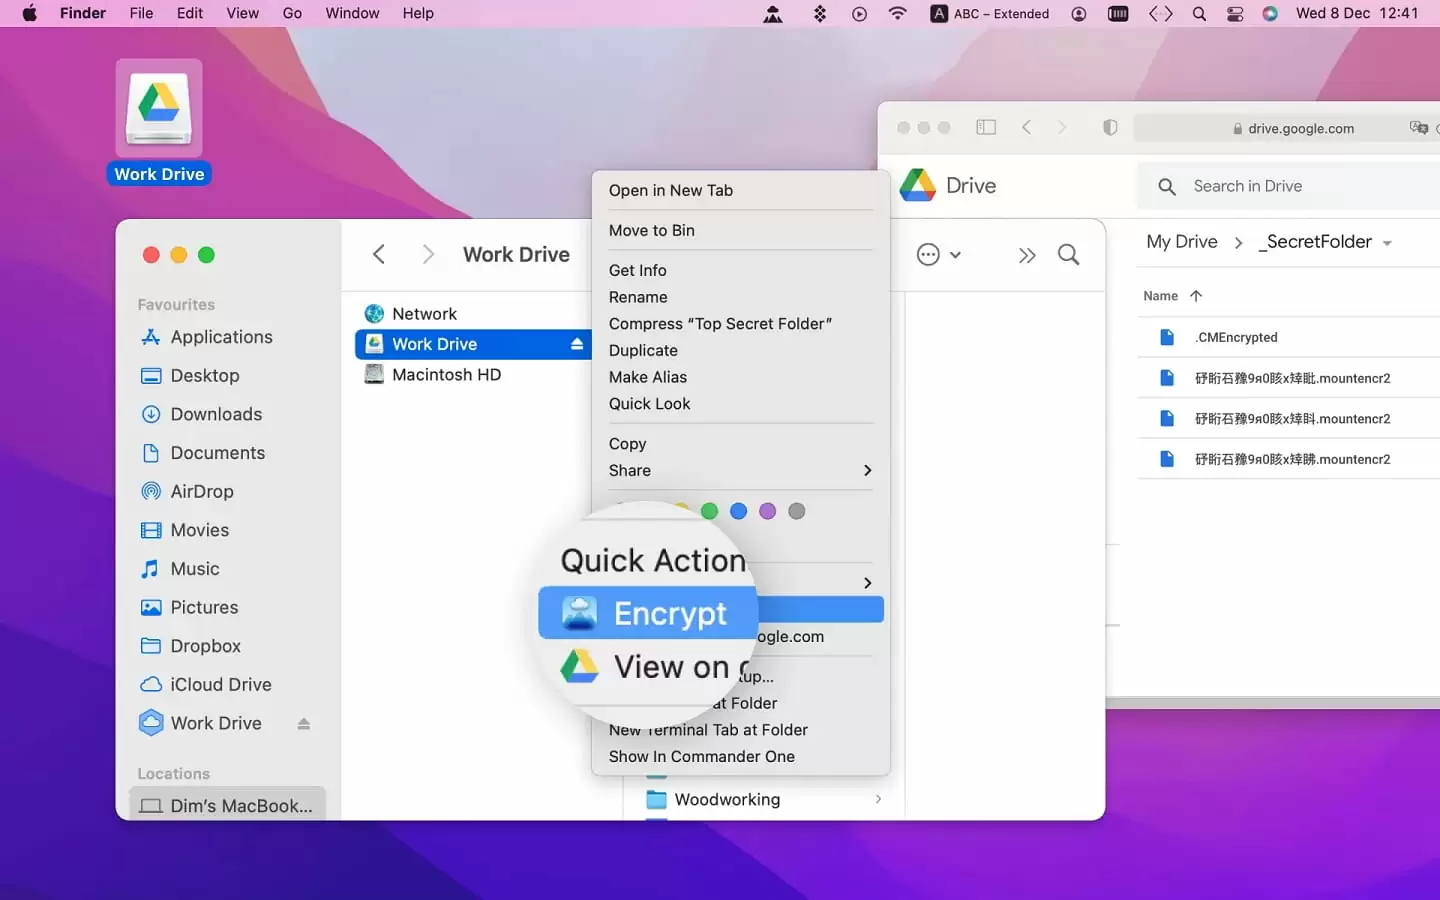
One of the major benefits of CloudMounter is the added level of security it provides. Cloud services such as OneDrive offer a certain level of security, but CloudMounter takes things further. Extra encryption is provided to ensure that all your saved data is as safe as possible.
On top of that, CloudMounter is fully compatible with the Mac Finder tool. This means that you can use Finder to search through your entire cloud storage for whatever files or folders you need. Plus, regular updates ensure that you’re always working with the best cloud manager available.
How to access OneDrive directly from the Finder via CloudMounter
Step 1: Download and install CloudMounter on your Mac.
Step 2: Launch the app and find the OneDrive icon from the list.
Step 3: Left-click on the icon to open the authorization window.
Step 4: Log into your account.
Step 5: Click “Mount” to map OneDrive on Macbook..
What OneDrive for Mac Offers
OneDrive offers a range of different features that make it the ideal cloud storage system for just about any user. It’s versatile, easy to navigate, and offers a number of different tools that everyone needs. The following are some of the main features of OneDrive Mac:
- Office Suite compatibility. OneDrive is designed to work with the Microsoft Office Suite, one of the most widely used sets of tools around. Files from OneDrive can be easily edited in Excel, Word, and other Microsoft programs. Seamless integration means that it takes the click of a button to open an uploaded file in one of these programs.
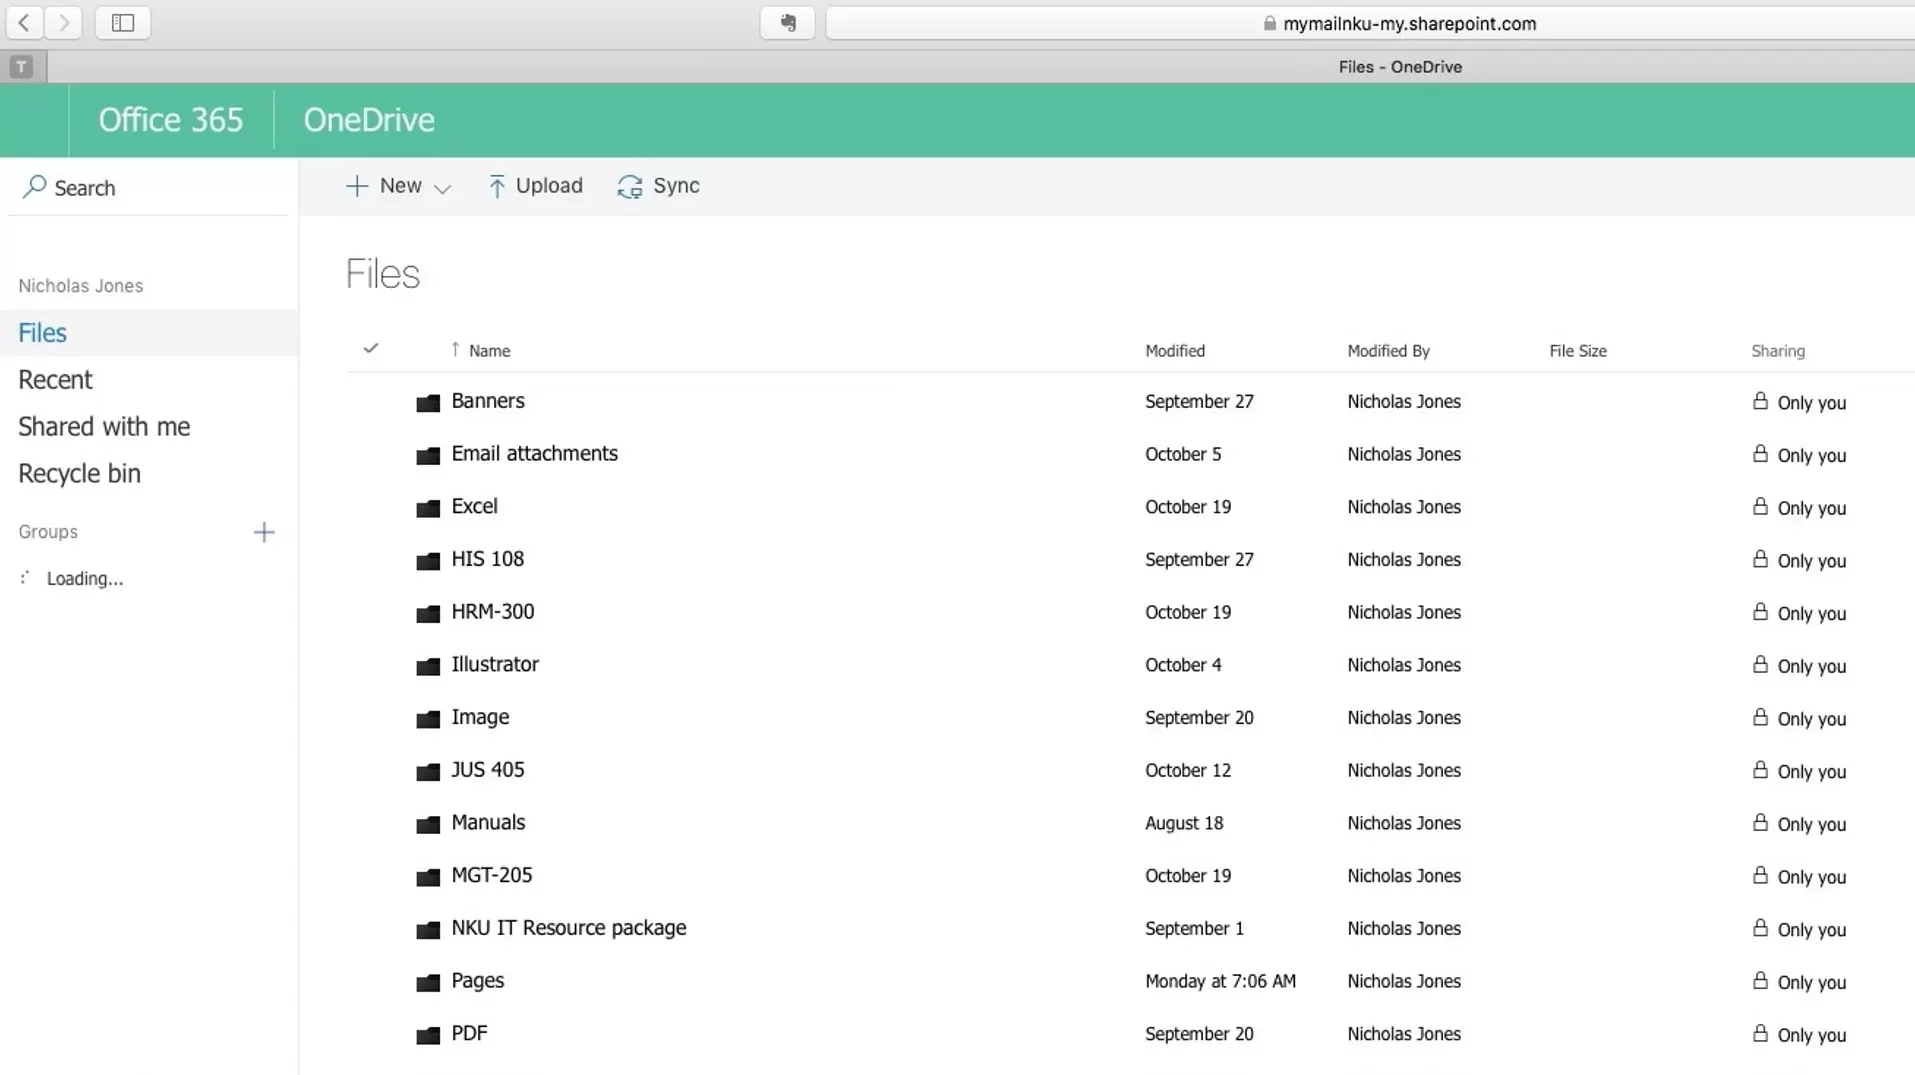
- Straightforward sync and file management. You can set up automatic sync tools to ensure that your OneDrive account is automatically in step with your other devices. On top of that, by sharing folders with other users, you can work together and edit or add files and folders, without the need for sharing them manually with each other.
- Free storage. Unlike some cloud storage systems, OneDrive can be used completely free. You are automatically entitled to 15GB of storage when you sign up, which is more than enough for most users. Plus, you can earn extra storage space when you recommend OneDrive to other people.
- Integrated into social media. OneDrive can easily be integrated into social media platforms. All it takes is a few clicks, and you can share your images or other files on all major social media sites.
Conclusion
That’s pretty much everything you need to know when it comes to using OneDrive on Mac. As we’ve mentioned, you can get the most out of it by using a system such as CloudMounter. With added security and extra convenience, CloudMounter is the ideal tool for someone looking to use OneDrive on Mac.
Given the popularity of OneDrive, it’s definitely worth making use of. It’s free and is increasingly becoming one of the most popular cloud services around. More and more businesses are starting to use it, so you might as well download it now and stay a step ahead of the curve.
FAQ
Yes, OneDrive is available on Mac. You can either download the desktop app, or you can use it within your browser. For maximum usability, third-party programs are recommended.
OneDrive can be downloaded as a desktop app, from the App Store. You can also use it within your Internet browser.
To save files to OneDrive, go to Finder, find the files you want to upload and copy or drag them to your OneDrive folder. The items you select will be saved to OneDrive.
You can use OneDrive through CloudMounter. With it, you can mount OneDrive as a local drive and quickly access all the files and folders stored there through Finder.


